Surface Mapping For Professionals
Did you ever wish to be able to just have a specific terrain feature - like grass or flowers - appear on a defined piece of land in your scenery? Like you look down into a nice valley and think, it would be fine to see some farmland over there, below this hill. Well, using common Terragen features, this is not possible. The advanced surface distribution tab only allows you to constraint the appearance of a surface layer by height and by ascention, and not by it’s coordinates.
Say, you define a surface layer at a specific height and ascention, this layer will appear all over the land everywhere Terragen finds places with the specified height and ascention.
So in order to have more control over the surface distribution, there’s a handy feature that comes with the SOPack – The Distribution Map Overlay.
Before we go into detail, I’d like to point out what “Coverage” and “Fractal Noise” means in this context. Well, coverage means the amount of space covered by one surface layer and its children.
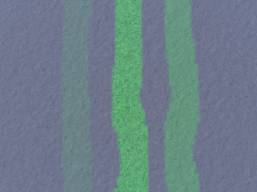
Fractal Noise is much more difficult to describe. Think of it as it defines how intensly a specific layer will appear. If Fractal Noise is low, the color and appearance of this layer will be very soft. If it’s high, the color of this layer will totally cover all layers below where it’s defined to appear. For reference and a more visual understanding, look at the following picture. There are 3 green stripes, made with the feature will will cover in this tutorial. The left green stripe was painted with about 20% grey, the middle one with 100% and the right one with some 60%. The percentage of grey directly relates to the amount of fractal noise you’re able to select by moving the Fractal Noise slider. Also the preview thumbnail will turn grey when you move the slider to the left and white to the right hand side. Here’s the picture:
|
Obviously, there’s also more bumpiness showing through, when fractal noise is high.
Now, what’s that Surface Distribution overlay all about? In simple words, it’s a mask for a surface layer. In order to use this, you must have the SOPack and FEO installed with Terragen. You can find download sites and manuals at Joe Meder’s site, which is listed under www.terrasource.net
I think the best way to describe the features and usage of the Surface Distribution Overlay is taking you through the creation process of an example picture. We will choose this:
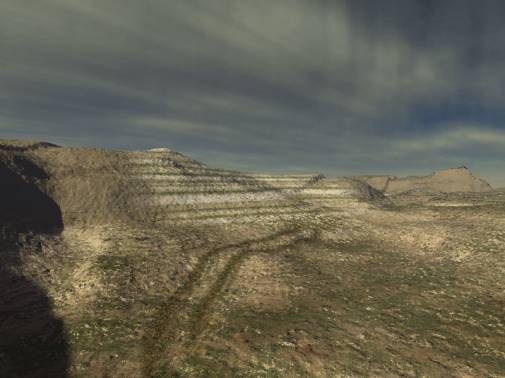 |
Most obviously, you will immediately recognize the vehicle tracks. You will also see the canyon strata. The funny thing with them are, there not all over the place. They only appear at some part of the front hill.
I started with a generated terrain here and chose a camera perspective. Then I made up a set of surface layers, to get the rocks and the grass. Just go ahead and choose a surface map you like.
Now we want the vehicle tracks to show up. Go and generate a new surface layer under the master layer. Rename it “tracks.
Export the terrain as a grayscale bmp using FEO. Fire up Photoshop or any other paint tool which allows for masks and layers.
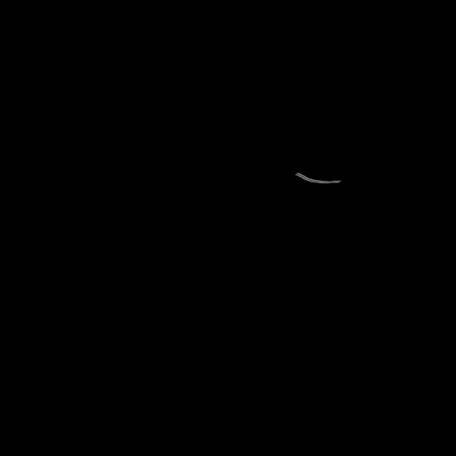
Open the exported bmp and create a new layer within the paint application. Fill it with black. We will now take a brush with 100% grey and paint the tracks right onto the new layer at the location of the terrain, where we want them to appear. For better control you may try to reduce the opacy of the terrain layer a bit. Now we blend out the terrain layer. You should now see only the lines of the tracks on a black background. Save the picture as bmp named “tracks”. I ended up with this:
 |
Now go back to Terragen and open the tracks layer which we created before we went into Photoshop. Open the “advanced distribution” dialog and choose a good color for the tracks and choose full bumpiness for them. Now take closer look to the lower section of the advanced distribution dialog. There’s little button just below “fractal noise” which reads “Tex”. Push the button, hit the plus sign in the upcoming dialog and choose “SO Image Overlay (Distrib. Version)”. Make sure you chose the distribution version, the others won’t work for our undertakings.
Now choose the right terrain size and select “Total Overlay”. Hit ok and choose the file “tracks” from the place where you saved the Photoshop file. Back into the Surface Layer dialog, the distribution thumbnail should now display the two lines from the vehicle tracks, right at the place where you painted them.
Do a test render and you should be able to see the tracks, rendered by Terragen. If you do not see them, check the following:
When all of these are ok, you should see the tracks.
Now we go for the strata. Create a new surface layer and rename it strata. Using photoshop, create a strata overlay as usual. I’m not going to cover strata basics here. Well, just in short:
- strata overlays may be any size, but Terragen only interprets the first column of pixels.
- When you apply a strata rgb picture to a surface layer, put in the height range of where the strata should be calculated. This range needs to be in Terragen units.
|
Here’s the strata I created: |
|
Now you fire photoshop up again and open the exported terrain again. Create a new layer and reduce the opacy of the terrain layer. Select the new layer and identify the part of the terrain, where you want the strata to show up afterwards. Take a larger brush and paint the desired area in the desired shade of grey. Remember, the grey percentage determines the amount of fractal noise. I chose white for this example, you do as your picture requires. Blend out the terrain layer when you’re done and save the file as strata_distribution.bmp. Now you should have a picture file looking like this:
 |
Back in Terragen, apply the strata RGB to the layer named “strata”. Choose the “Tex” button from the upper part of the distribution dialog, select SO Strata, select the strata RGB and put in the desired height range in Terragen units. Hit OK.
Now click the “Tex” button below “Fractal Noise”, select SO Image Overlay (Distrib. Version) selct the right terrain size, hit ok and choose the file “strata_distribution”.
You’re done! Render the picture. Congratulations!!!
Now you can really control the appearance of any surface layer: by height, ascention or coordinates, as you wish!
The following pictures have also been created with distribution overlays.
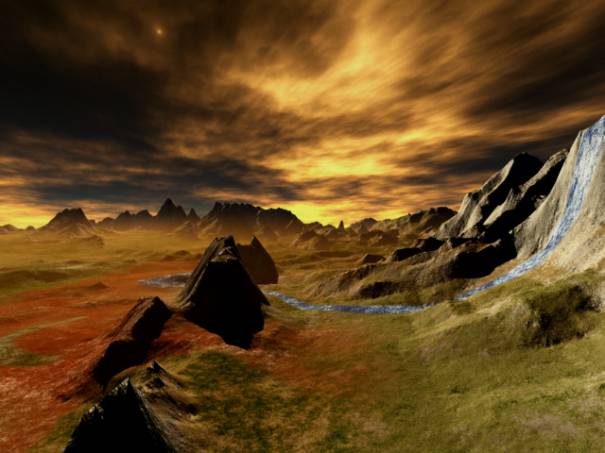 |
almost heaven
(the waterfall and the reddish surface layer cannot be done without this trick)
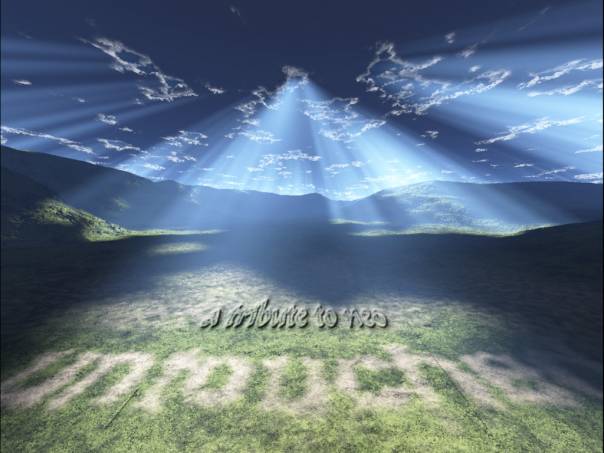 |
another place untouched
(the word untouched is calculated by terragen. Like the lawn has been mowed like this)
back to the Startpage