| Making of Warped Mountains I |
A little Preface
In all Making Of's I only show you the steps necessary to produce a terrain similar to the ones shown in the above pictures. The reason is simple: By the time i made the pictures I hadn't in mind to make this tutorial, so, i didn't make any screenshots. Additionaly these Making Of's should be more an inspiration for you how to work with TerraBrush. AND: For this tutorial I only used 513·513 terrains. For my pictures i usually use 1025 or bigger!
1st Step: Fill a terrain with cauliflower :o)
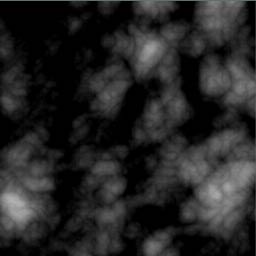
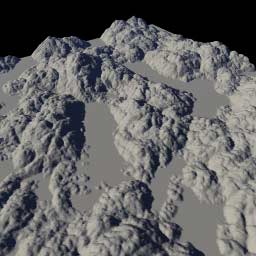
Create a Terrain with [Fill/Noise(Landscapes)]. I decided to use the "cauliflower". Here you'll find how to get it. The Height Scale was left on the default settings (0.000 - 1.000). Now I wanted to increase the black areas which have the height 0.000. This can be done with the [Picture/ Brightness/Contrast] - function. To make the terrain more black you have to move the brightness slider to the right.
 |
 |
2nd Step: Using the Twirl
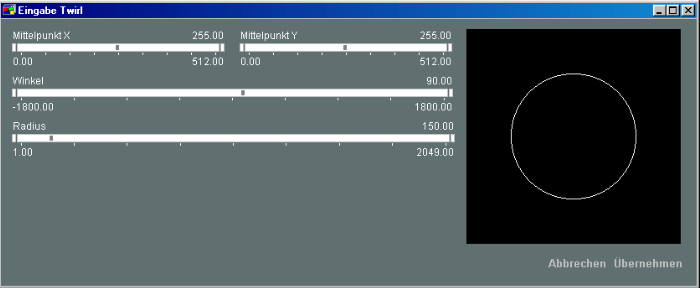
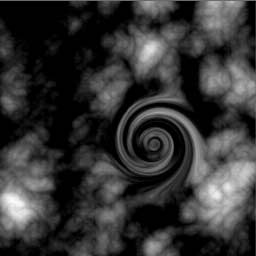
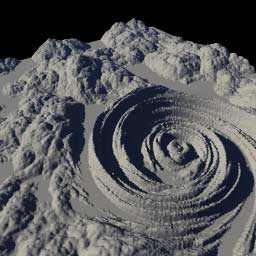
The function [Picture/Twirl] is very powerfull to create interesting terrains. I use it very often. It distorts
a circle-shaped area of the terrain. With the sliders Midpoint X and Midpoint Y you can set the position of the
twirl and with Radius you can change the size. The imho most important slider is Angle, because it sets the
strenght of this effect. You can get very different results playing with this slider.
Some Tips:
1. Try values of 60° and/or below for Angel to avoid the circle-like look of the results
2. Using some weak (low angels for Angle) on different locations you can distort a terrain in very cool ways. With
some effort you can simulate the distort-filter of Worldmachine with it. :)
 |
 |
3rd Step: Fill the lower areas
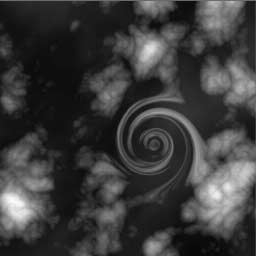
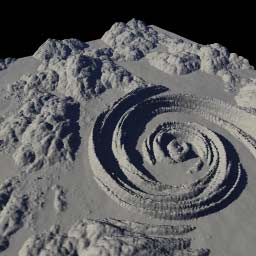
Well, almost done, but those flat black areas look a bit boring. To change this i filled them with a low terrain. To do this, change the slider for max height on the Height Scale to a low value, set the Draw Mode to "if higher" and then use [Fill/Noise(Landscapes)] on your picture. You can do this several times with different heights until you are satisfied!
 |
 |