| Making of Alien Artifacts XI - The Emerald Maze |
A little Preface
In all Making Of's I only show you the steps necessary to produce a terrain similar to the ones shown in the above pictures. The reason is simple: By the time i made the pictures I hadn't in mind to make this tutorial, so, i didn't make any screenshots. Additionaly these Making Of's should be more an inspiration for you how to work with TerraBrush. AND: For this tutorial I only used 513·513 terrains. For my pictures i usually use 1025 or bigger!
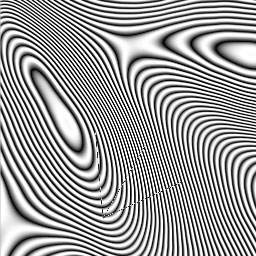
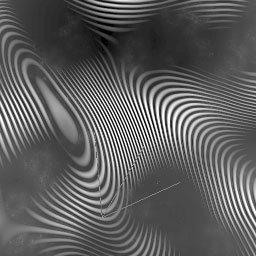
Step 1: Create an Terrain, using [Fill/Noise(Landscapes)]
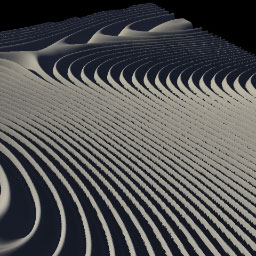
At first, we have to create this cool labyrinth! We'll use [Fill/Noise(Landscape)] for this, but with a little difference...
It is important, to change the green marked dropdown menu from 'f(x)=Noise' to 'f(x)=sin(x+Noise)'. This will allow us, to create completly different, but imho very interesting kinds of terrains. To get the kind shown in the above screen shot, I decreased the values for Fractal Dimension and Rice 1 a little bit, and played arround with Rice 2 (Note: the above Screenshot is from the german version. Rice 1 is Anstieg 1 and Rice 2, well guess... :)) Finally recalculate the terrain sometimes until it looks interesting for you, using the New Calculation button ( = Neue Berechnung)
 |
 |
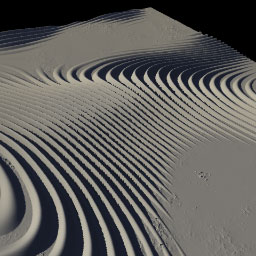
Step 2: Multiply with [Fill/Noise]
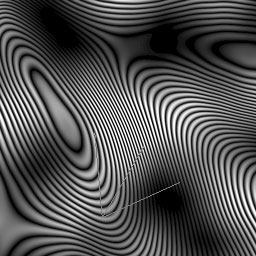
This doesn't look to interesting so far, because it is missing differences in height. Set the Draw Mode to Multiply and start
[Fill/Noise(Landscape)]. Set the Dropdown back to 'f(x)=Noise' and chose the first of Funker's Setup to get back
to the default terrain.
You could already use this kind of terrain, but i wanted smooth transitions in height, so i set the slider 'Rice 2' almost to max and
experimented with the sliders 'Rice 1' and 'Fraktal Dimension' until i was happy with the result.
To increase this effect, i multiplied the Terrain two times with the labyrinth terrain!
 |
 |
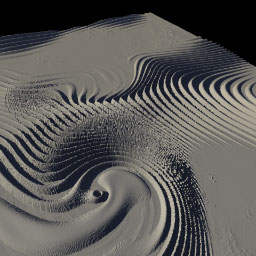
Step 3: Fill the lower flat areas with [Fill/Noise]
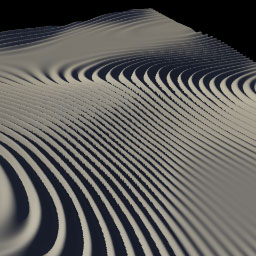
Now it is time to add some structure to those boring flat areas. Set the drwa mode to 'if heigher'. Now set on the Height Scale the value for the max height for your Background. Usefull is the Height Selector (right click sets max height!

In this example i set the max height to 0.265 using the height selector. Then i used [Fill/Noise(...)] to fill the lower areas, using 'hm V2' in the Funker's Setups drop down.
 |
 |
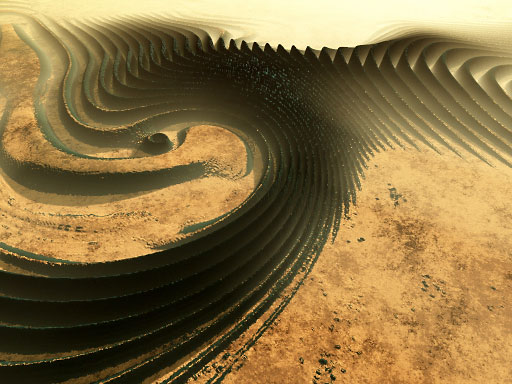
Step 4: Maybe a little Twirl
Almost there. Now one can add one or more 'Twirls' (see also here)
 |
 |
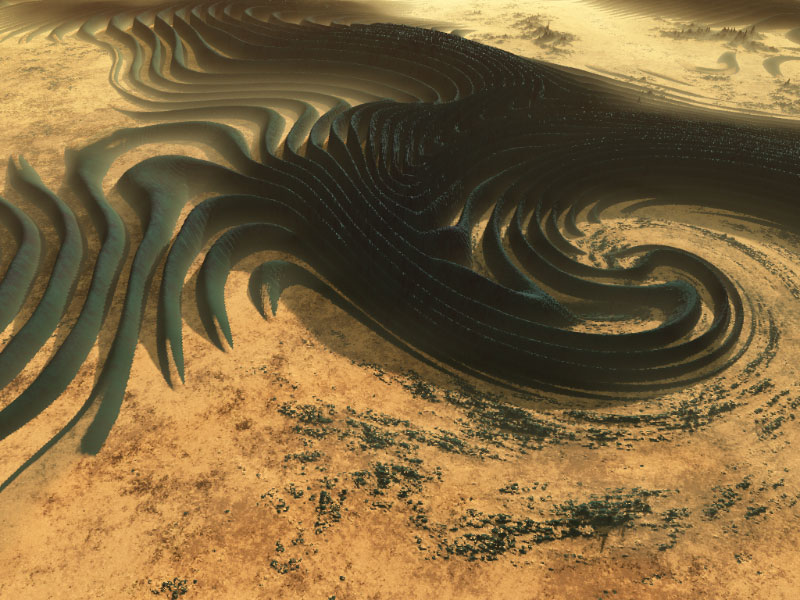
Step 5: Search POV, surface it and ready :)